


Chromebox 3 for Digital Signage: Everything You Need To Know
WRITTEN BY: TelemetryTV, 03-11-2020
Not even a decade ago, digital signage hardware was only really accessible to businesses with hefty budgets. It’s the reason why you’d only ever see digital signage installations in places like malls, stadiums, and airports.
Now, digital signage is more accessible and affordable than ever. Businesses big and small are all getting in on the action. This is primarily due to a flood of inexpensive, capable, and easy-to-use digital signage hardware options hitting the market. Most notably, digital signage media players have drastically dropped in price in recent years.
Update: With the release of our new TelemetryTV Box OS we are now recommending TelemetryTV Box OS devices as the primary choice for new digital signage deployments.
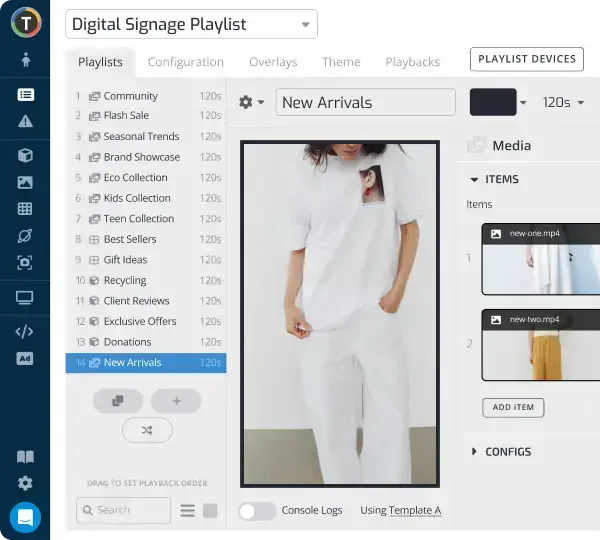
TelemetryTV Box OS is our proprietary operating system and the TelemetryTV media player is a secured, optimized and customized platform. TelemetryTV Box OS is easy to use, manage, and scale. This will be our primary platform going forward and will receive the most features and attention.
With TelemetryTV Box OS we have taken all of the best features from Chrome, Android, Windows and Linux and combined them into one digital signage platform. We believe TelemetryTV Box OS will be the most sophisticated digital signage platform on the market.
Key Features of TelemetryTV Box OS
- Kiosk mode
- Serial port commands
- 4k support
- 4 screen video wall support
- USB provisioning
- 5 yr lifespan
- $0 annual costs
- Electron app build
- Static IP
- Remote management
Leverage Your Screens To The Max
TelemetryTV is the only digital signage software you need to drive engagement, productivity and revenue for your business.
Learn MoreChromebox 3
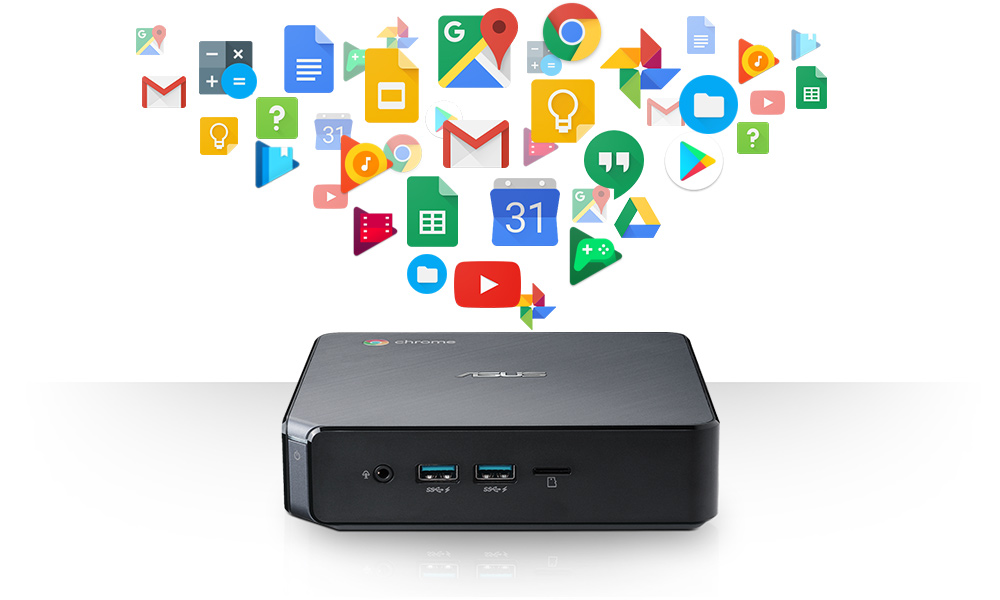
The Asus Chromebox 3, in particular, is one such media player that more and more companies are choosing to go with to power their digital signage. And it’s not hard to see why. The Chromebox 3 stands apart from the competition because it pairs solid performance with a relatively low price tag.
Put simply, the Chromebox 3 is one of the best digital signage players on the market for businesses on a tight budget. Here’s everything you need to know about it.
What is the Chromebox 3?

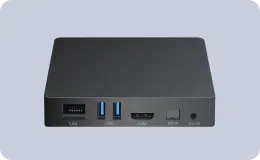
Digital signage media players come in three different types: boxes, plug-and-play sticks, and all-in-one solutions. Media boxes, like the Chromebox 3, are generally the consensus choice for operating a digital signage network.
The reason is that media boxes are much more capable of broadcasting high-resolution content to screens than plug-and-play sticks or all-in-one TV solutions. The latter two options are typically built with consumer applications in mind rather than commercial uses.
So, for most digital signage uses, we’d recommend opting for a media box. You’ll get much more bang for your buck.
Overall, the Chromebox 3 regularly outperforms its competitors in the same price range, thanks to its better-than-average processing power, solid durability, numerous ports, portable design, and its access to a wide range of education apps for digital signage.
The Asus Chromebox 3 starts at $250 for the standard model.
Why we like the Chromebox 3
1. Cost-effective
Chrome OS aficionados looking for a digital signage player on a budget should first and foremost seek to strike a balance between cost and performance. In our opinion, the Chromebox 3 nails that sweet spot.
It allows businesses without an extremely high budget to get into the digital signage game with a high-grade media player.
2. A cheaper alternative to the CTL Chromebox CBX1
Our two favorite Chrome OS media players on the market are the Chromebox 3 and the CTL Chromebox CBX1. Unfortunately, the Chromebox CBX1 is more than double the price ($629) of the Chromebox 3, but it does offer better overall processing power, durability, and storage capabilities. If money isn’t an option, go for it.
But if that price seems steep, then the Chromebox 3 is great low-cost alternative that’ll surely get the job done.
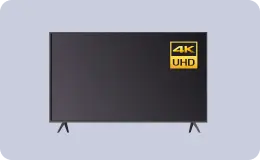
3. Supports dual display and 4K streaming
Most digital signage set-ups require each individual screen to have its own media player streaming content to it—i.e. a digital signage deployment with four screens would require four respective media players for each display on the network.
The great thing about the Chromebox 3, however, is that it offers the ability to power content to two screens simultaneously, thanks to its dual display streaming technology. And what’s best, it can do dual-streaming in glorious 4K/UHD resolutions without skipping a beat.
4. Chrome Device Manager
One of the best things about Chrome OS media players is that they support Chrome Device Manager. Basically, Chrome Device Manager gives businesses and other organizations the ability to manage all of their Chrome devices remotely from Chrome’s web-based Admin Console.
So things like downloading apps and extensions, restricting or allowing access to Chrome features, and configuring settings for devices can all be done on-the-fly anywhere there’s an available internet connection.
5. Kiosk Mode
Chrome media players also support Kiosk Mode, making them an ideal solution for businesses interested in interactive digital signage. By enabling Chromebox Kiosk Mode in the Chrome Device Manager, the Chromebox 3 can turn any touchscreen display into a self-service digital signage kiosk.
Disadvantages of the Chromebox 3
1. Difficult to set up
Like other Chrome OS devices, the Chromebox 3 can be extremely difficult to set-up for digital signage. There’s too many steps, it’s not particularly intuitive, and there’s almost no Chrome support whatsoever for businesses outside the US. It’s by far our number one gripe with Chrome media players.
But that’s not to say it’s impossible or that it should scare organizations that want a Chrome OS digital signage off. We just strongly recommend hiring professionals to help with the initial set-up and provisioning process of Chrome devices. It could save you a huge headache.
If you want to take a stab at it alone, simply follow our step-by-step guide below.
2. Limited lifespan
The Chromebox 3 is pretty durable and can survive relatively long-term indoor use. But compared to some other options on the market, it’s significantly less rugged and dependable, especially in harsh conditions or for around-the-clock use.
Those looking for a more hardy and long-lasting Chrome media player should instead check out the AOPEN Chromebox Commerical 2.
What can you do with the Chromebox 3?
The Chromebox 3 was designed primarily for commercial uses like digital signs or for classroom and educational applications. For that reason, it’s probably not the right device for the average person—especially when you compare its price tag to consumer media players.
Those in need of a media device to stream movies or to download consumer apps are much better off buying a plug-and-play stick or all-in-one TV option.
How to set up the Chromebox CBX1 for digital signage
1. Purchase a Chrome Enterprise License
Head over to Chrome Enterprise License and purchase an annual license. You’ll need a license for each device on your network.
2. Enroll your Chrome devices
Enroll each of your Chrome digital signage players.
3. Add TelemetryTV to your Google Admin Site
Log in to your Google Admin accountand go to Device Management.
From there, click on Chrome Management > Device Settings > Manage Kiosk Applications.
After that, search for the TelemetryTV Media Player app on the Chrome Web Store. Once you’ve located it, press Add, and then press Save.
4. Connect Google API to your media player
From the Google Admin Dashboard, navigate to Security. Then select API Preference and check the box next to Enable API Access. Click Save.
5. Create a new project in the Google APIs Console
Go to the Google APIs Console. Press Create Project.
First name your project, then search for “Admin SDK”. Once you’ve located the Admin SDK page, click Overview on the left side of the page and then hit Enable.
6. Sign up for TelemetryTV
Sign up for TelemetryTV’s cloud-based digital signage platform.
7. Pair your TelemetryTV account to your TelemetryTV media player
Go to the TelemetryTV web app and navigate to the Devices page. Download the provisioning file.
Go back to your Google Admin Dashboard. Click Device Management > Chrome Management > App Management and select TelemetryTV Media Player.
Select Kiosk Settings and upload the provision file you downloaded from the TelemetryTV app.
Once downloaded, your TelemetryTV app has successfully been connected to your TelemetryTV account.
8. Enable the TelemetryTV app to auto-launch
This step enables your TelemetryTV app to auto-launch whenever you reboot your device.
Go to Device Settings. Click on Kiosk Settings and under the Auto-Launch Kiosk App dropdown, select TelemetryTV Media Player. Save your settings.
9. Reboot your device
After rebooting your media player, TelemetryTV should automatically provision and be ready to use.
Need more detailed instructions for setting up a Chromebox 3 for digital signage? Visit the help section below:
Getting started
When you factor in everything, the Chromebox 3 remains one of the top Chrome devices for digital signage available to businesses and organizations. It’s extremely affordable and simply gets the job done.
With all that said, continue on to sign-up for a 14-day free trial to TelemetryTV’s powerful cloud-based digital signage app—no credit card necessary!