Selecting Hardware: Beginner’s Guide to the Mac Mini
WRITTEN BY: TelemetryTV, 01-26-2021

Update: We no longer support MacOS devices. We recommend our TelemetryOS devices as reliable enterprise-grade hardware for new digital signage deployments.
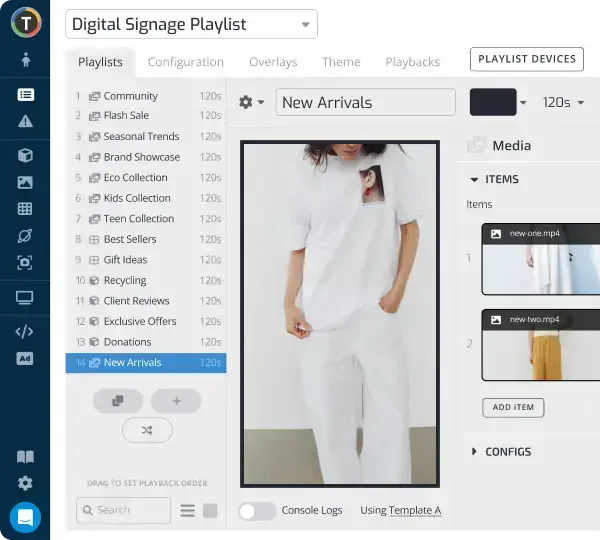
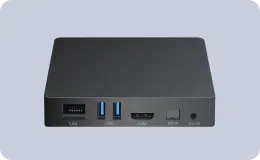
TelemetryOS is our proprietary operating system and the TelemetryTV media player is a secured, optimized and customized platform. TelemetryOS is easy to use, manage, and scale. This will be our primary platform going forward and will receive the most features and attention.
With TelemetryOS we have taken all of the best features from Chrome, Android, Windows and Linux and combined them into one digital signage platform. We believe TelemetryOS will be the most sophisticated digital signage platform on the market.
Key Features of TelemetryOS
- Kiosk mode
- Serial port commands
- 4k support
- 4 screen video wall support
- USB provisioning
- 5 yr lifespan
- $0 annual costs
- Electron app build
- Static IP
- Remote management
Leverage Your Screens To The Max
TelemetryTV is the only digital signage software you need to drive engagement, productivity and revenue for your business.
Learn MoreMac Mini
The Apple Mac Mini is one of the most powerful and useful hardware devices on the market when it comes to digital signage. But it’s not the easiest device to set up or understand the ins and outs of.
Rather than having you standing around scratching your head though, we’re here to answer any questions you might have about using the Mac Mini for digital signage—from how to get it up and running to its numerous features and how to optimize it as a media player for digital signage.
What is the Mac Mini?
In the simplest terms, the Mac Mini is a tiny, box-shaped Apple PC. Instead of coming with a keyboard and mouse like typical computers though, the device is shipped all by itself. That’s primarily because the device has a wide range of uses (most of which don’t involve a mouse and keyboard) and is meant to be versatile.
The number one draw of the Mac Mini—like other media players such as the Chromebox, Intel NUC, and Nvidia Shield—is that you can plug it into almost any monitor, TV, or digital display and make it “smart”. The Mac Mini comes with more processing power than the vast majority of its competitors, but it also comes with a heftier price tag ($699+).
Mac Mini specs and device information
Since 2020, the Mac Mini has had three different versions.
The low-end and mid-tier Mac Minis come with an Apple M1 processor. The M1 chip features an 8-core CPU with 4 performance cores and 4 efficiency cores, an 8-core GPU, and a 16-core Neural Engine. It also comes with 8GB memory and up to 512GB of storage. The M1 Mac Mini has two Thunderbolt/USB 4 ports, an HDMI 2.0 port, and two USB-A ports.
As for the high-end version of the Mac Mini, it features a built-in Intel 6-Core processor, 8GB of RAM, 512 GB of storage, and an Intel UHD Graphics 630 card. It also comes with more ports than the two M1 versions, featuring four Thunderbolt 3/USB-C ports, an HDMI 2.0 port, and two USB-A ports.
There are two slight disadvantages to choosing a lower-priced M1-powered Mac Mini device over an Intel-powered one. First, the lower-end Mac Minis tend to have less processing power—albeit not by much. And two, the M1 Mac Minis can only support up to two displays simultaneously, while the Intel version can stream content to up to three.
Mac Mini uses
- Stream movies and TV shows
- Use nearly any display as an on-the-go desktop computer
- Play games
- Digital signage
- Home server
- Share and view photos

Mac Mini benefits
1. Great performance
Don’t be deceived by the lightweight design of the Mac Mini. It packs a serious punch. In fact, when it comes to other media players on the market, the Mac Mini performs as good or better than the rest.
2. Supports multiple 4K displays
Speaking of performance, there are very few media hardware devices out there that can simultaneously power multiple 4K displays without breaking a sweat. The Mac Mini is one of them.
3. Perfect for iOS lovers
The Mac Mini is the perfect choice for people and organizations that are heavily invested in the Apple ecosystem. The Mac Mini comes with iCloud sharing and built-in iOS apps such as FaceTime, iTunes, Mail, Maps, and much more.
4. Video wall support
For businesses looking to take their digital signage to the next level, the Mac Mini is a great device to power eye-catching video walls, thanks to its easy-to-use multiple display support.
Mac Mini features to consider (cons)
1. Expensive
For those looking to get into the digital signage game on the cheap, the Mac Mini is probably not the best option out there. The low-tier Mac Mini starts at $699, mid-tier starts at $899, and the top-of-the-line Mac Mini starts at $1099.
Chrome devices and Android media players tend to be much less costly.
2. Not ideal for deploying at scale
Mac Minis are great at a lot of things, but deploying at scale is not one of them. This is largely due to the fact that there is no really easy way to manage all your screens and content under the same roof.
ChromeOS devices, on the other hand, come with Chrome Device Manager, which allows an Admin to easily manage a large network of devices and screens.

How to set up a Mac Mini
1. Power your Mac Mini
The first step is to power up your new Mac Mini. Simply connect the power cord to the back of the device and into an outlet. Then, press the power button on the back of the device.
2. Connect to a screen
Next, connect to the display of your choice using an HDMI or USB-C cable.
3. Connect to WiFi
Once the Mac Mini is powered up and connected to your display, follow the Apple device set up instructions on the screen, which will eventually lead you to set up an internet connection.
You’ll need either a mouse and keyboard or an Apple remote to navigate through the rest of the steps.
4. Sign in with your Apple ID
Follow the on-screen steps to sign in to your Apple ID. This will allow you to access the Apple Store and sync your iCloud.
(Next steps are for digital signage installations)
5. Download the TelemetryTV app
Use this link to begin downloading TelemetryTV’s all-in-one digital signage software.
6. Pair your media player with the TelemetryTV app
After the download finishes, open the app where you will see a pairing code. Go to the TelemetryTV web app and type in the pairing code under the “Devices” section.
7. Set TelemetryTV to auto-launch on restart
Go to System preferences on your Mac Mini and select Users & Groups. From there, click Login items and make sure you are logged in as the Admin to make changes.
Click on the ‘+’ and then select the /Applications folder. Finally, locate the TelemetryTV Media Player app and click Add.
For more detailed help on installing TelemetryTV on a Mac Mini, visit here.
And for a more generalized guide on getting started with digital signage players, visit here.


