


How to Make a Video Wall with Digital Signage
WRITTEN BY: TelemetryTV, 07-11-2019
Digital signage video walls are catching on like wildfire nowadays and it’s not hard to see why. They are pretty much the ultimate digital signage—huge, imposing, and impossible to ignore.
In the past, a digital signage video wall was only accessible to businesses and organizations with extremely deep pockets—think airports, malls, stadiums, and the like. But now, thanks to the tech improvements and the drop in digital signage and screen prices, businesses with virtually any type of budget can consider building a stunning 4k video wall to get their message out.
That said, here’s a beginner’s guide on how your business can build a video wall from start to finish.
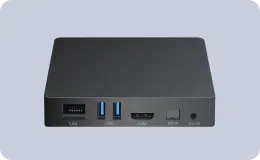
Update: With the release of our new TelemetryTV Box OS we are now recommending TelemetryTV Box OS devices as the primary choice for new digital signage deployments.
TelemetryTV Box OS is our proprietary operating system and the TelemetryTV media player is a secured, optimized and customized platform. TelemetryTV Box OS is easy to use, manage, and scale. This will be our primary platform going forward and will receive the most features and attention.
With TelemetryTV Box OS we have taken all of the best features from Chrome, Android, Windows, and Linux and combined them into one digital signage platform. We believe TelemetryTV Box OS will be the most sophisticated digital signage platform on the market.
Key Features of TelemetryTV Box OS
- Kiosk mode
- Serial port commands
- 4k support
- 4 screen video wall support
- USB provisioning
- 5 yr lifespan
- $0 annual costs
- Electron app build
- Static IP
- Remote management
Leverage Your Screens To The Max
TelemetryTV is the only digital signage software you need to drive engagement, productivity and revenue for your business.
Learn More
What is a digital signage video wall?
Put simply, a multiple tv wall consists of displays placed together to work in unison as one large-scale display.
In general, very large high-resolution screens tend to be quite expensive. Using a multiple tv wall with screens of lower resolution in conjunction is a more economical approach than one huge high-resolution screen.
What layouts can you have with a video wall?
Digital signage video walls have come a long way in recent years. Before, a common 2x2 video wall design tended to focus on small, basic, rectangular implementations.
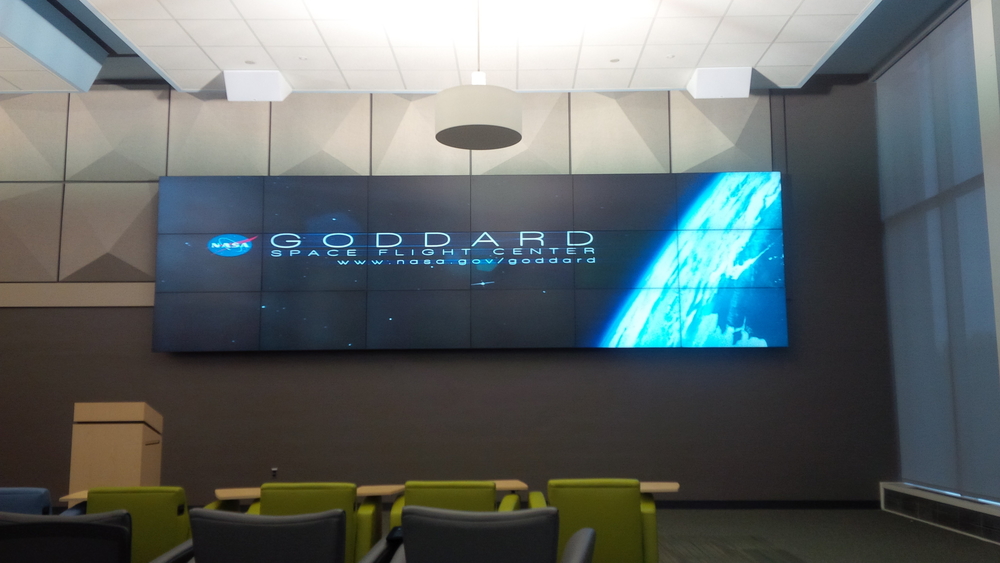
Now, it’s not uncommon to see giant, floor-to-ceiling LED video walls that command the attention of entire rooms. Or super elegant 4k video walls that wow with their artistry.
In the end, almost any layout is possible when it comes to a multiple tv wall—it just comes down to imagination, hardware, budget, and the ultimate goal you want your video wall to accomplish.
For complex digital signage video walls consisting of six or more screens, it’s always a good idea to get an AV consultant to help with the setup. That way, you’ll avoid any potential pitfalls or unnecessary headaches.
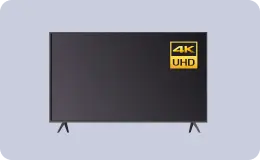
What sort of video wall TVs and mounting hardware will you need?

Typically, there are two main ways to create a video wall display. The first—and more advanced method—is to buy a series of commercial TVs for a video wall implementation.
Commercial displays, unlike consumer TVs, will cost you more out of pocket but often come with the ability to create a 4k video wall, along with useful built-in digital signage features, and will have a longer lifespan, more durability, and higher performance.
One helpful feature that many commercial TVs come with is called “daisy chaining”. In basic terms, daisy chaining allows you to build a video wall system by “chaining” each TV on your video wall installation together with HDMI cords. That way, you only need one media player, rather than one for each TV.
So the basic design looks like this: your media player connects to your first TV with an HDMI cord, then that TV connects to the second display with HDMI, and so on and so on. Just note that daisy chaining will require a powerful and relatively expensive device that can handle extremely high resolutions on its own. But considering the cost of the matrix controller, you’ll use, the price will likely balance out.
As for what amount you’ll need, that depends mostly on the location of the screens and your budget. Here are the most common mounting systems:
- Flush: Basic mount that positions your video wall display parallel to the wall.
- Tilt: Mounts your screen at an angle to preserve viewing angles. Mostly used when a screen is above normal eye level.
- Articulating: Arm mounts that can be moved around to a preferred viewing angle.
- Ceiling: Mounts that hang from the ceiling rather than a wall.
- Pedestal: Mounts that raise from the floor. These are common in large open rooms where walls are far away.
Video wall media players and media splitters
The second—and easiest way—of setting up a video wall is by using a media splitter—also known as a “video splitter”, “matrix splitter”, or “video wall controller”. These devices essentially allow users to build a digital signage video wall with a single media player.
The set-up is simple: connect the media player to the media switcher with an HDMI cord, then connect each TV display to the media switcher box using an HDMI cord. Once connected to all your screens, the switcher splits the content streaming from your media player to fit each of your screens as one single display based on its format—i.e. 2x2, 3x3, or any other layout.
The only downside with media splitters is that they can be quite expensive, especially if you need a lot of inputs to power a video wall with many screens.
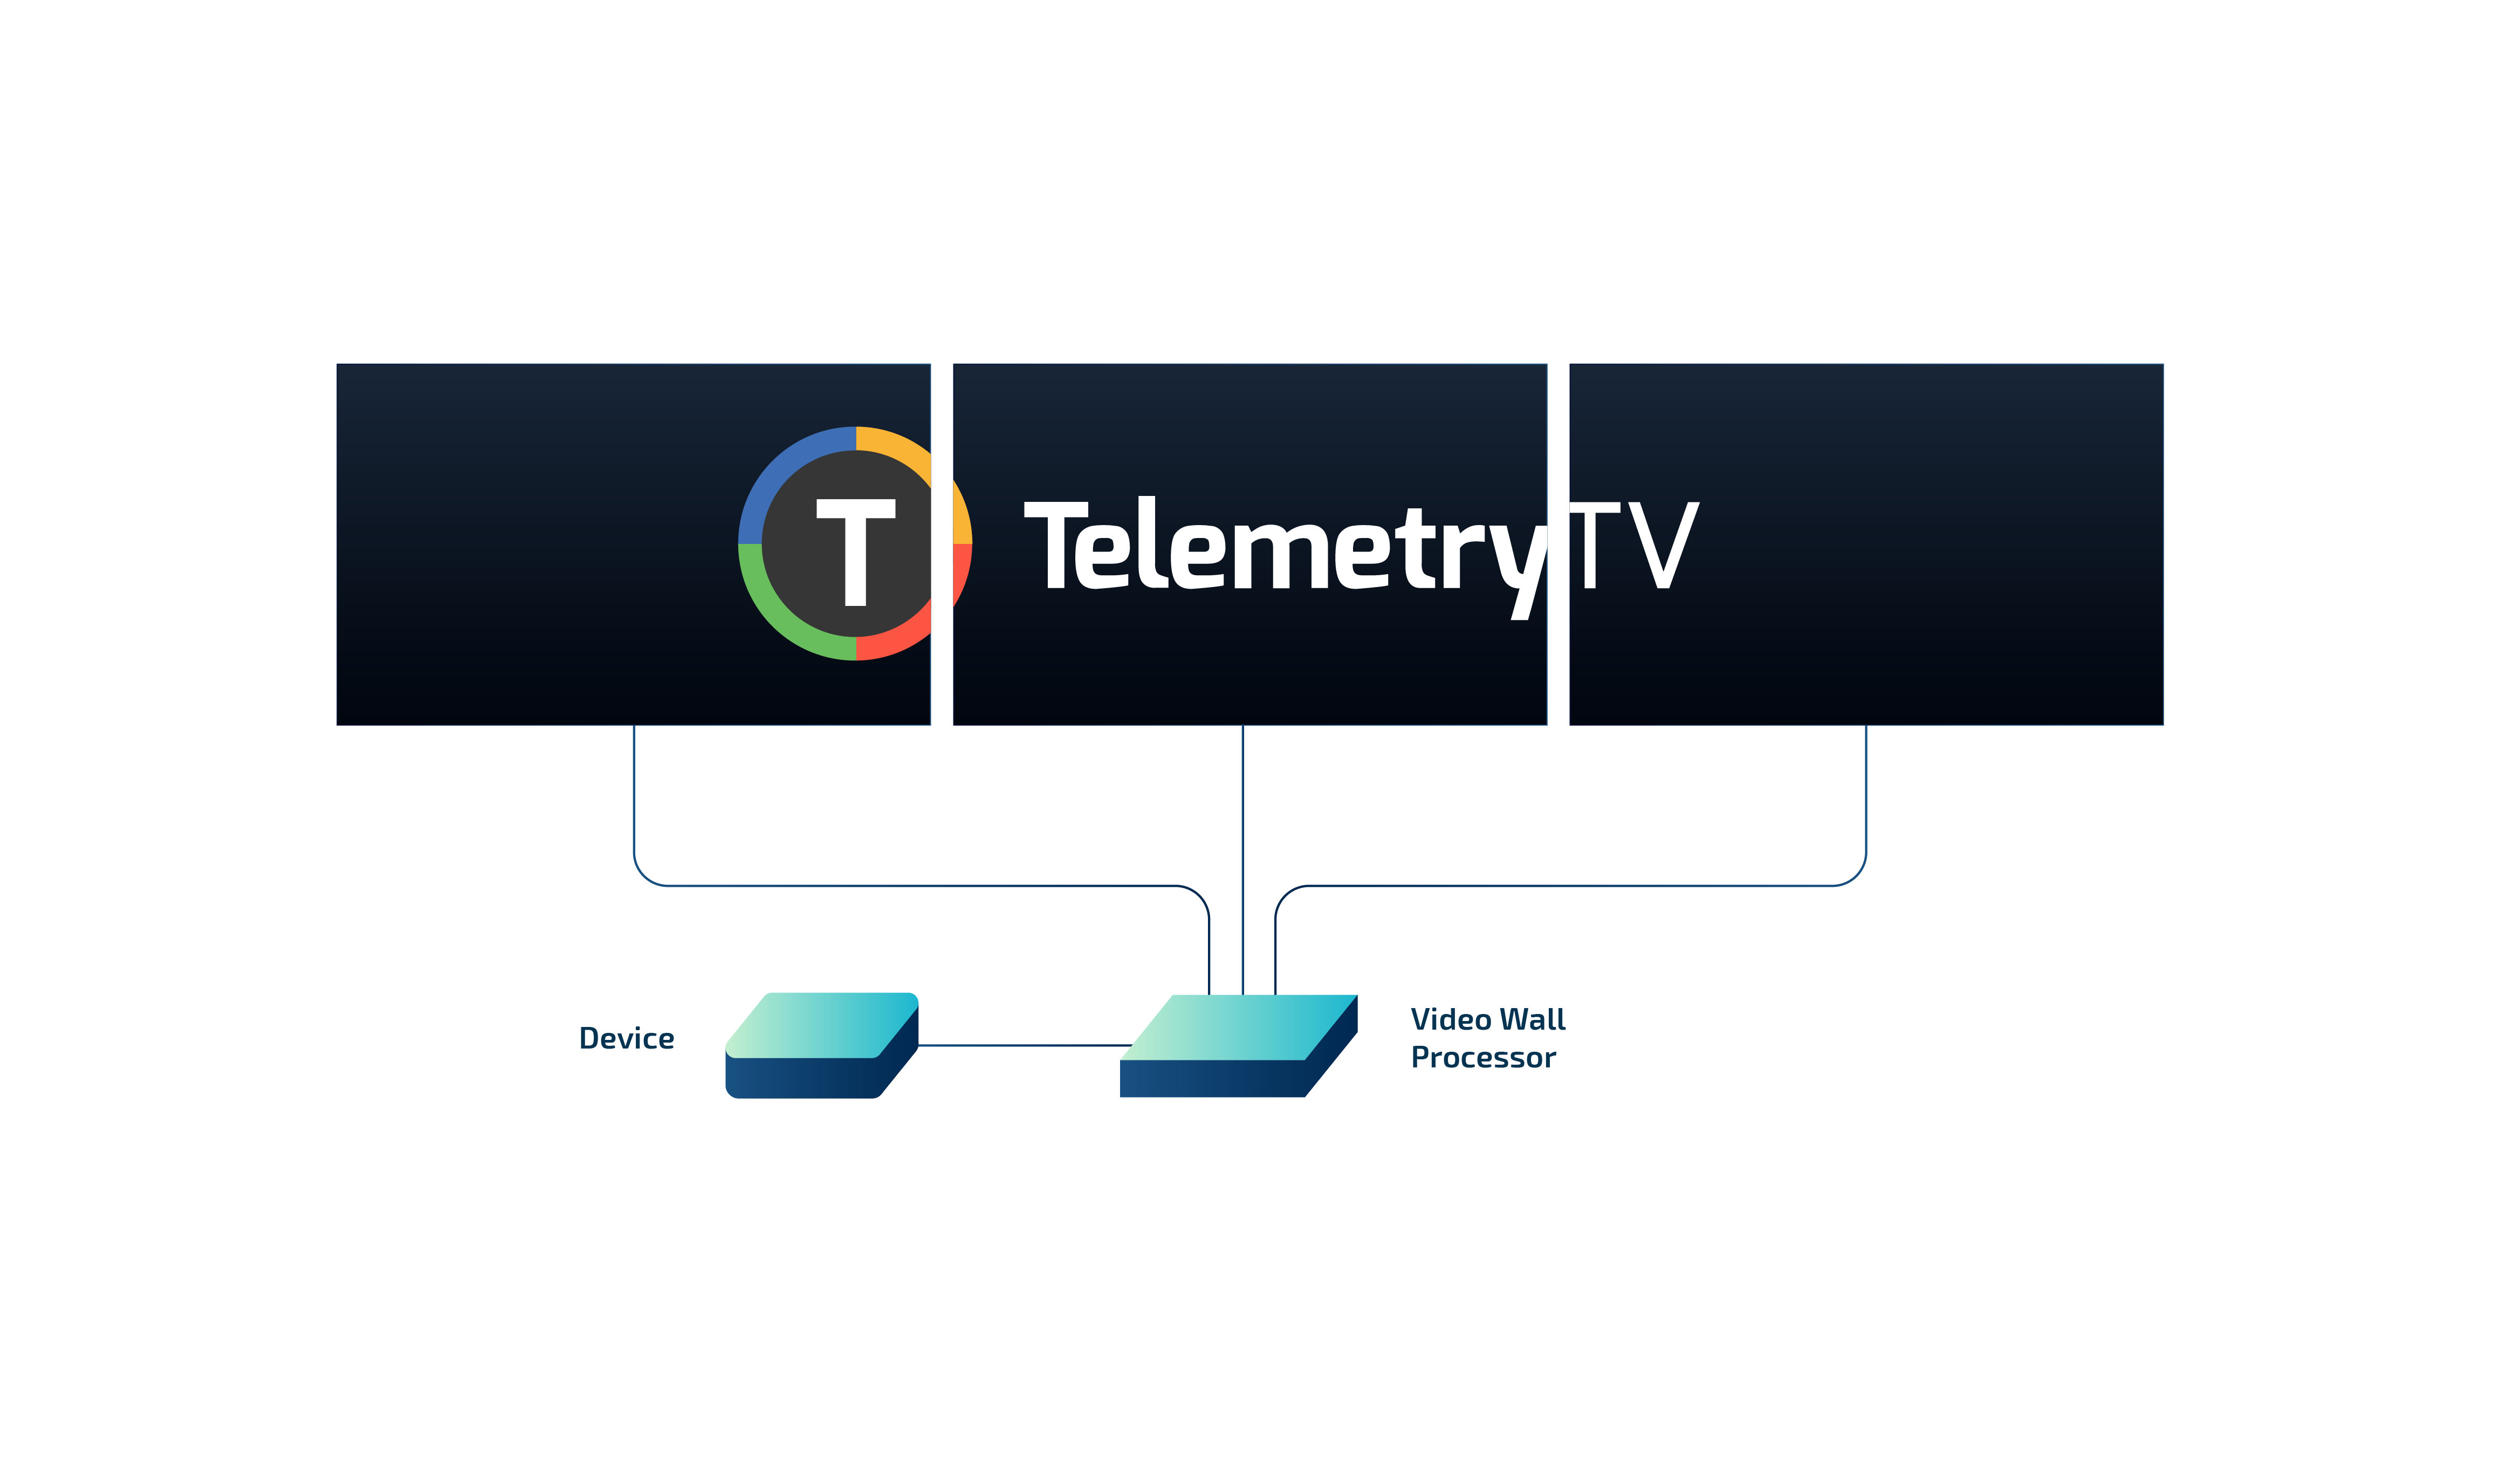
You could also opt for a native video wall system. They are easier to install, but you’ll pretty much be limited to three screens at most for your video wall. The reason is that native video walls rely on a single device sending its signal directly to each respective display. Basically, it’s extremely difficult to maintain high resolutions. For example, to display content at 1080p across two screens, you’ll need a 4K signal from your device.
A simple video wall system can be powered using media player boxes, such as the CTL Chromebox. You’ll be mostly limited to 1x3 video wall layouts, however. For more complex installations, it’s probably best to look into more powerful solutions specifically designed for building video walls. One solid option is the Intel NUC.
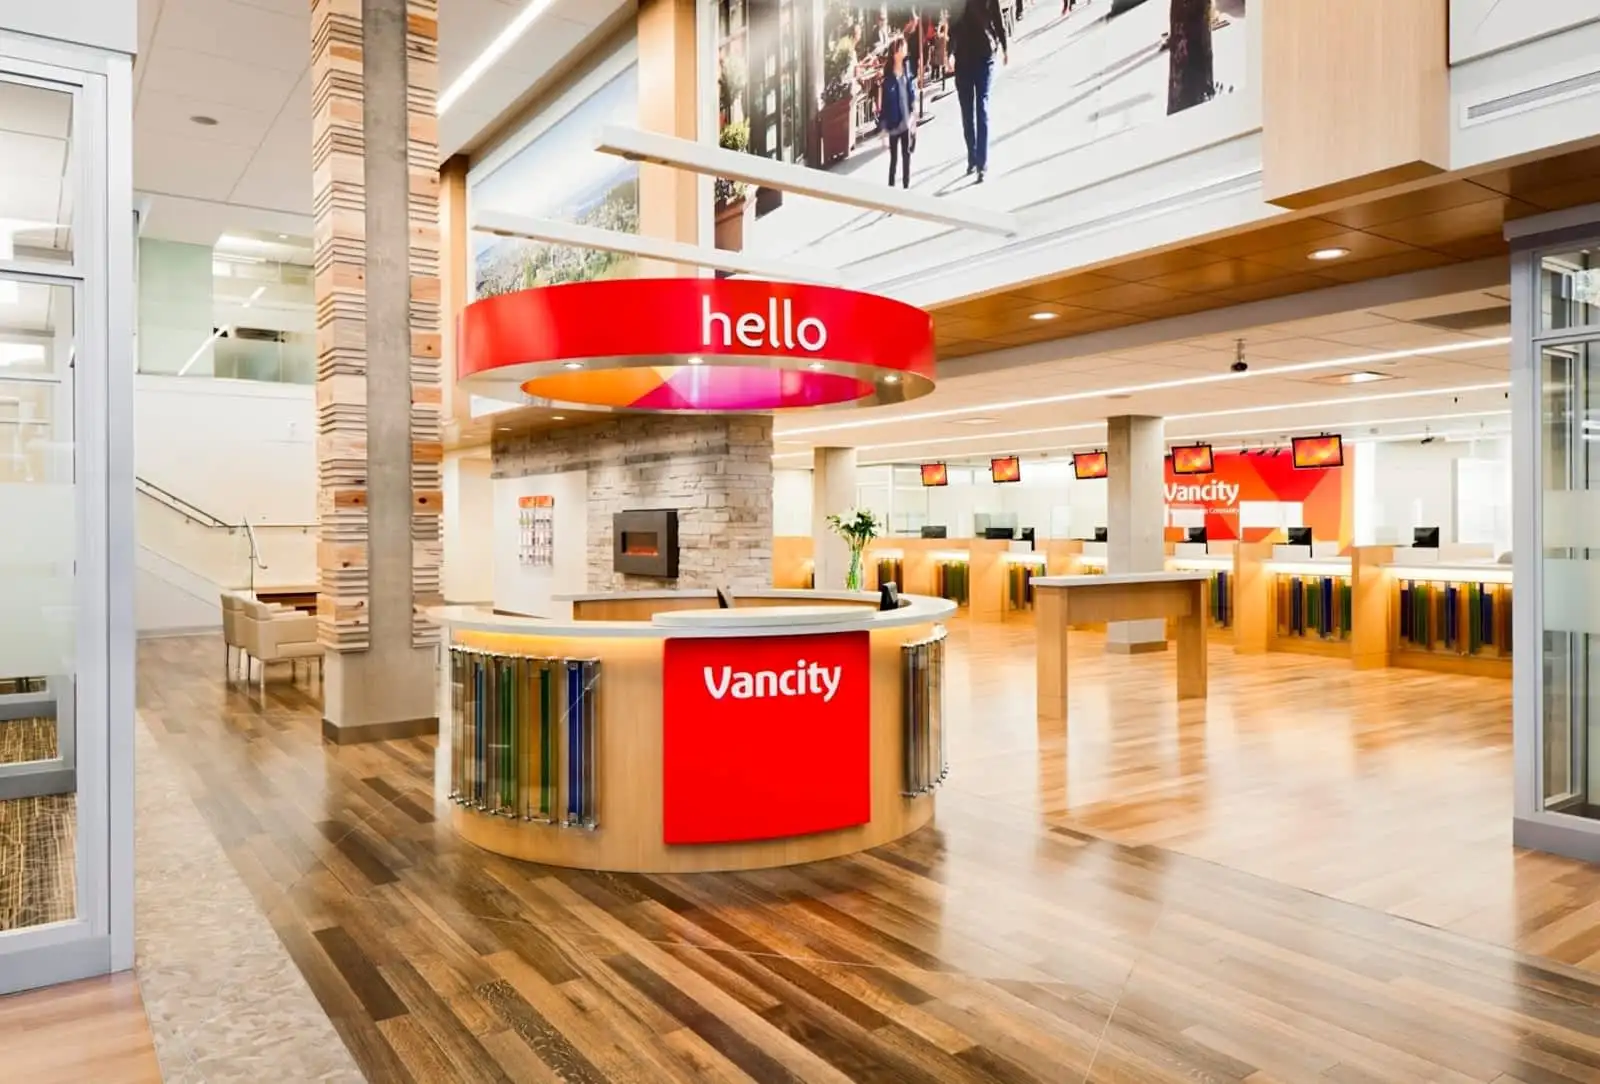
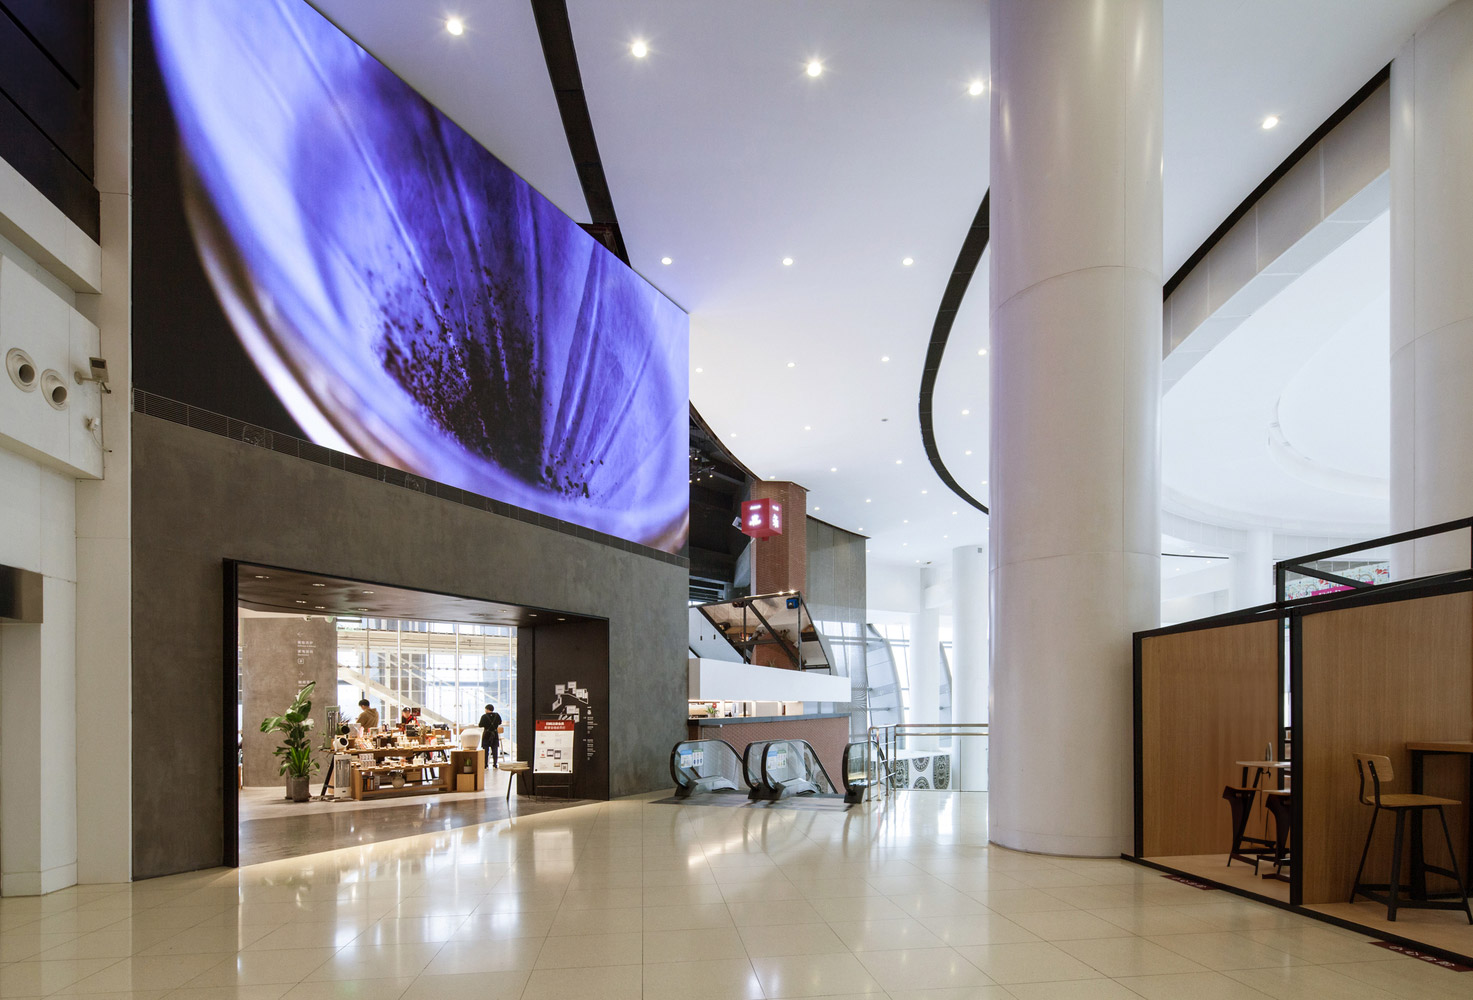
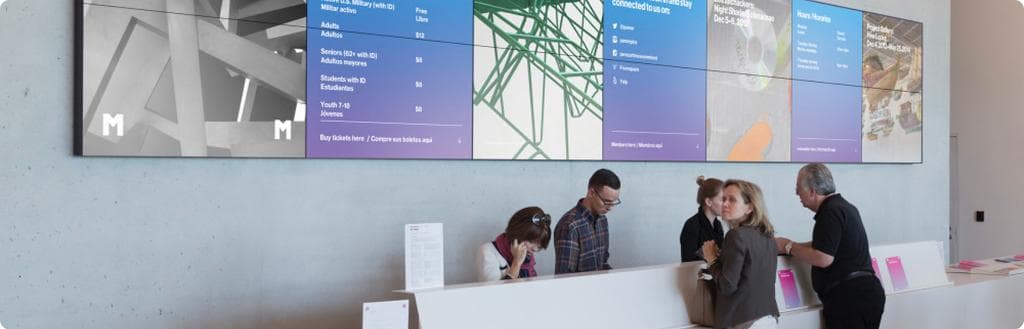
Digital signage video walls in action
How to make a video wall
So you’ve created a free TelemetryTV account and built a visually striking video wall, now it’s time to get the content from your playlist to your screens.
The first step is calculating the aspect ratio of your video wall display. This is done by determining the width and height of your wall of displays. Since the aspect ratio of a normal horizontal display is 16:9, you’ll have to multiply that number by how many screens you have in your installation.
For example, a 1x2 video wall would have an aspect ratio of 32:9 and a 1x3 would be 48:9. A 2x2 video wall would maintain a 16:9 aspect ratio, however, due to its normal screen layout.
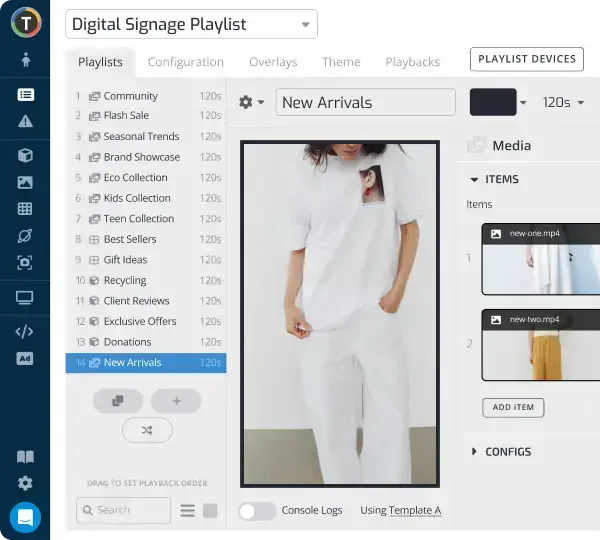
Next, you’ll need to configure your playlist to match your video wall’s layout. It’s simple; just visit the Playlists section, create or pick an existing playlist, click on the “configuration” tab, and then choose the aspect ratio that corresponds with your video wall layout.
The best thing about using TelemetryTV for your video wall is the Playlist Zones feature. Basically, it’ll allow you to split your video wall into different zones, meaning you can display different content in different areas of your video wall at the same time.
No matter what message you are trying to get across to your audience, video walls are a surefire way to get the job done.