


How to Get Started with Android Digital Signage
WRITTEN BY: TelemetryTV, 07-03-2022

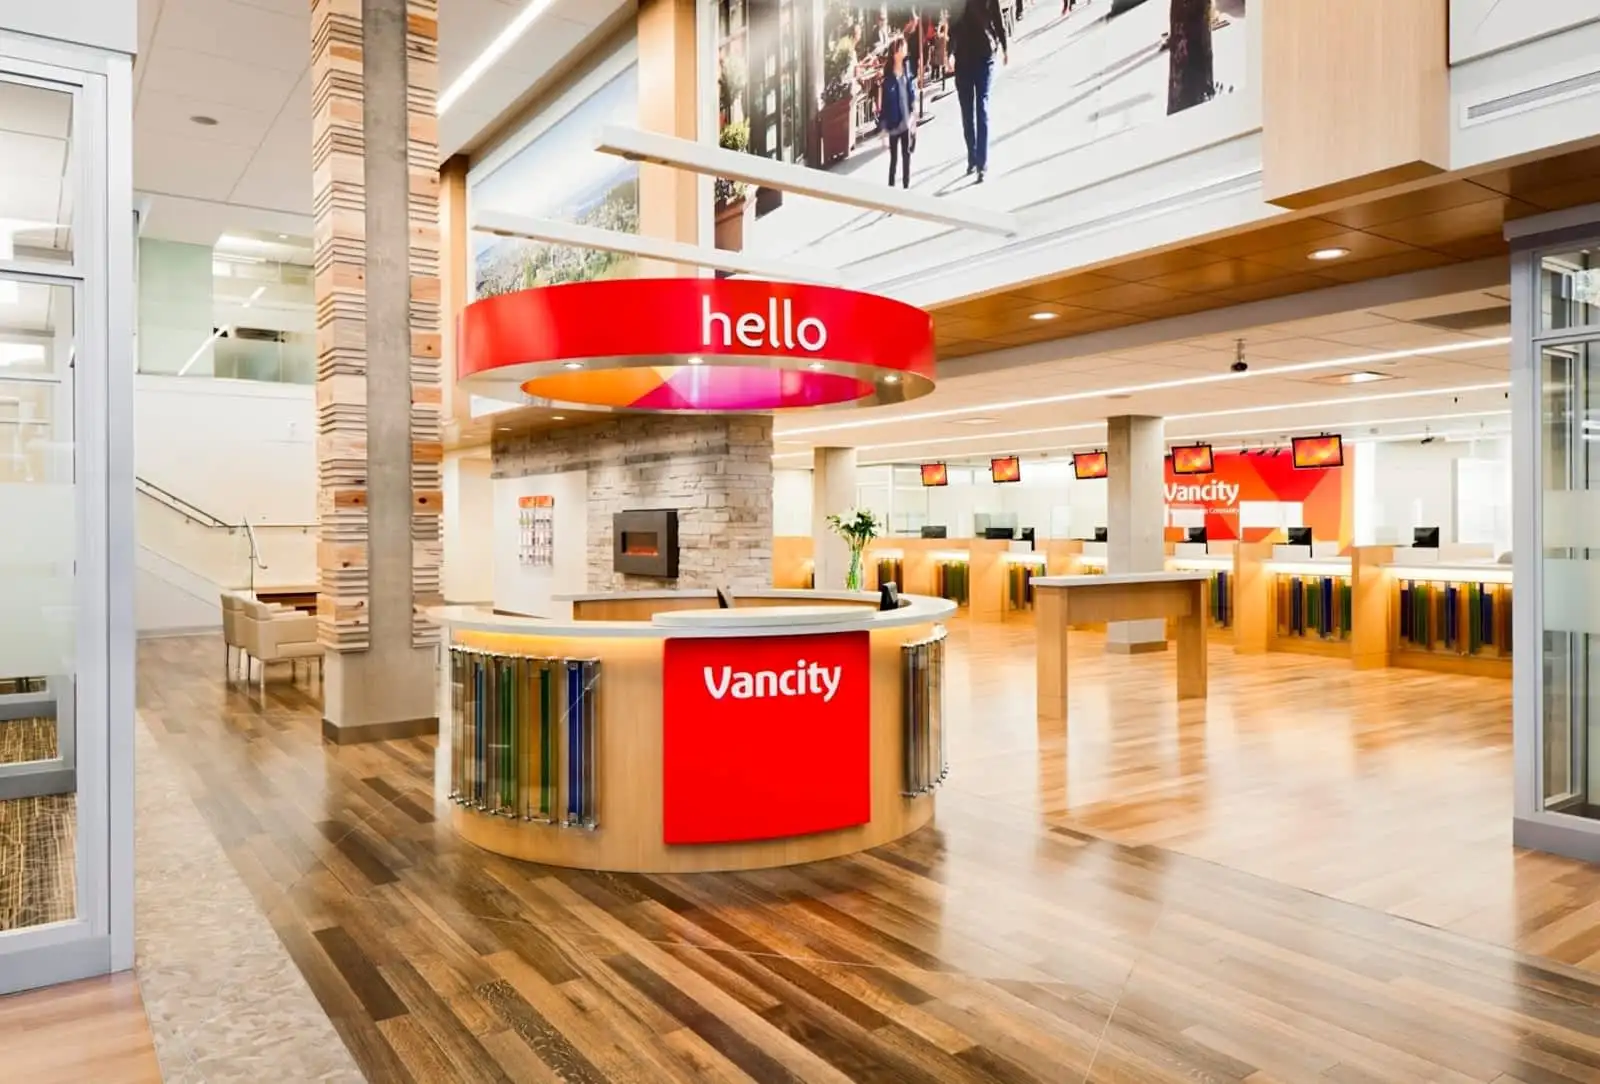
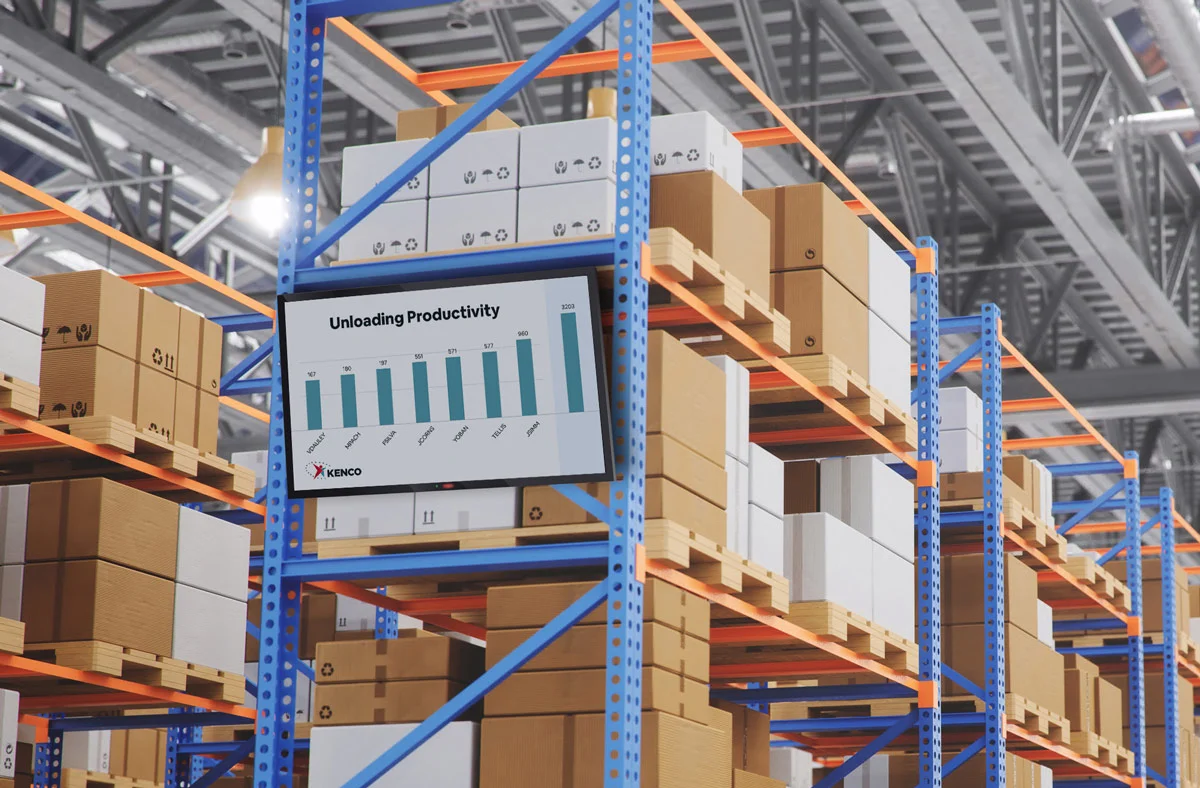
Digital signage is an extremely versatile and powerful tool to enhance your communication capabilities. No matter the industry, it provides a slew of business-boosting use cases that frankly, traditional signage can’t even come close to.
And what’s best, digital signage software and hardware are more accessible now than ever before. For a basic setup, all you need is a display, a device capable of being used as an Android digital signage media player, and a subscription to digital signage software like TelemetryTV.
Leverage Your Screens To The Max
TelemetryTV is the only digital signage software you need to drive engagement, productivity and revenue for your business.
Learn More
The Benefits of Android Digital Signage

We’ve touched on the numerous benefits of digital signage above, and extensively in our blog section. So definitely check that out since there could be some use cases you hadn’t thought of yet that can provide a lot of value to your business.
However, setting up and running your own DIY digital signage system has its own set of benefits that aren’t always the case.
An Android digital signage system is extremely cost effective. Although it’s rather limited in scope, it can certainly get the job done—especially if you only need a handful of digital signs.
You can take any basic consumer displays you have laying around and transform them into powerful, dynamic digital signs that turn heads and deliver your messaging very effectively.
It’s easy to set up yourself and use. All you need is a good tutorial like this one and you can do it all yourself.
Since there are many hardware options, you might even already have an Android device that can be used as a digital signage player. But if you need many, you can simply buy more.
Adding more screens and media players to your network under the same digital signage CMS (content management system) is easy.
But first, here’s where to begin, and a closer look at what Android digital signage entails.
Choosing Your Screens for Android Digital Signage

This is the easy part. You might even already have a good display or set of displays that would work great with your Android digital signage setup.
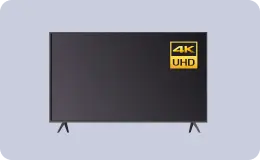
Make sure that you choose high-resolution screens. These days, 720p isn’t exactly top notch anymore. So for high quality digital signage content that ‘pops’, you really ought to use 4K. That will get you the best results by far.
And with 4K cameras being so affordable now, there’s really no reason you should be capturing content that you intend to use for your marketing efforts with anything less.
Apart from the specs, there are two types of digital screens you can choose from: consumer screens or commercial screens.
The difference is that commercial screens are purpose-built for 24 hour use. Commercial screens also might be suitable for outdoor use and can have special designs that allow them to function better in fluctuating temperature ranges.
Consumer screens are your everyday TVs that go in the living room. They can also be used for digital signage, but they’re simply not designed for the wear and tear of constant use. Consumer screens tend to need repairs or burn out completely much faster than commercial screens.
So while you might save a few bucks by using the screens you have, you will probably need to replace them eventually anyway. That’s why commercial screens are a good investment, especially if you need more screens anyway.
Android TV is also a good option, but this will limit you to a more consumer-focused setup. If you don’t mind that, then Android TVs can help keep things simple since they come with Android OS pre-loaded.
Then, you can simply use your remote control to set up your digital signage system. Although this is likely a more expensive option than piecing your systems together, it is much easier since the Android TV is both your display and your media player in one.
However, this also means repairs involve the entire unit if something goes wrong.
It’s possible to use a mix of all the above screen types if you prefer, or just whichever ones work out best for your situation.
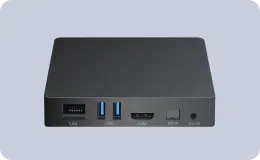
Get an Android Device for Digital Signage
There is a wide range of options to choose from, but to keep it simple, we’ll recommend just one here.
Ugoos X3 PRO

This is a great choice for first timers. It’s simple to use, affordable, has the specs you need to play any sort of content on a high definition or even 4K display.
Specs-wise, it comes with 32GB of storage and 4GB of RAM, which is more than sufficient for what you’ll be using it for.
With the Ugoos X3 Pro, you can power a video wall, a touchscreen kiosk, or any other type of digital signage you need.
Sign Up for Digital Signage Software
A robust yet intuitive cloud-based digital signage software like TelemetryTV brings the whole package together. You can even access and use your digital signage software remotely through any device with a browser.
All you need to do is sign up for a subscription of TelemetryTV and it will work for all of your media players and screens. It’s a complete solution for all things digital signage, so as long as you have the right hardware, it’s the only other thing you need.
You can even try a trial of TelemetryTV totally free for two weeks. That way, you’ll have a chance to gain some familiarity before committing to anything. And in that time, you can even put together your first digital signage playlist to try out and use as you like.
TelemetryTV and Android: How it All Works

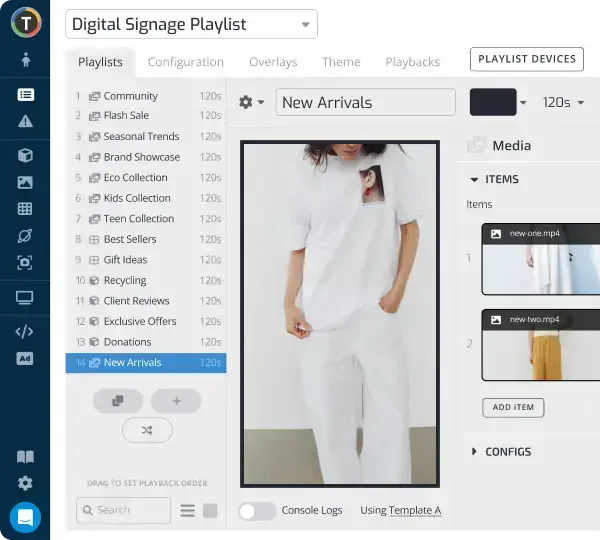
Once you have everything you need for your digital signage system up and running, it’ll be easy enough for anyone to manage. You can control all of your digital content through playlists that you can create within your digital signage CMS.
Use templates to save time and create playlists right within the app. Then, all you have to do is automate your playlists to appear and change at certain times of the day on whichever days you choose. And if you want to jump in and make changes on the fly, all you need is your username, password, and a web browser.
Now, here’s how to get it all set up.
Installation and Setup of Android Devices for Digital Signage
Since we already have a detailed guide for setting up Android TV, we’ll keep this short and sweet.
First, make sure your Android device supports installation of APKs. If it doesn’t, search for and install TelemetryTV from Google Play on your Android device. The APK version is preferred since it will give you more functionality and capacity for deployment, but you can use either of them.
If you need your display to be a kiosk, then set TelemetryTV to automatically boot when the device comes on. How to do this depends on your version of Android. Although 7.1.1 will work, Android 8 or 9 is recommended. Android 10 or higher will work too but you’ll have to set up the TelemetryTV app as the launcher.
To enable auto start functionality, first enable ‘Launch on Boot’ from the app’s ‘Settings’ menu. This will ensure that TelemetryTV starts when you boot up your digital display.
Then enable ‘Auto Restart App’. This makes sure that in the event that the device shuts down or the program closes somehow that it will comes back on without you needing to do anything. However, you should hold off on this part until your app is all configured and everything is properly set and connected to where you want to play your digital signage.
Pairing or USB provisioning
If you’re setting up five or fewer devices, pairing is the easiest method. But if you have several displays that you want to set up simultaneously, provisioning is probably necessary since it will save you a lot of time.
Pairing:
- Open your TelemetryTV account on your computer.
- Turn on your Android device and open the TelemetryTV Media Player app that you downloaded.
- Once it’s running, a 6-digit code will show up
- Select ‘Pair’ on your computer and type in the code
USB Provisioning:
Note: Your device must have an extra USB port for this to work. Check out our detailed guide to USB provisioningfor instructions.
After You’re All Set Up
Once you’re all set and ready to go, it’s time to turn your attention toward your digital signage content strategy.
Makes sure all the basics are covered, including knowing who your target audience is, understanding how to reach them, and how to use digital signage best practices to do so.
These include keeping your content low in text and high in video. These days, no one wants to read through lots of text—especially if its marketing or advertising content.
Video is the best way to capture and keep people’s attention. So use it to your advantage as much as possible.
And be sure that your content is branded. Where possible, your digital signage content should use brand colors, incorporate logos, and embody your brand voice. This will help enforce your brand and contribute to brand loyalty from your audience.
Get Started Today for Free
Ready to give it all a try? Take the first step now and sign up for your 14-day free trial of the TelemetryTV app. It has everything you need to craft, deploy, manage, and automate your digital content playlists.
Check out our digital signage buyer’s guide and get a step by step walk through from start to finish. That way, you’ll be able to refer to our documentation and be sure you’re on the right track throughout the process of setting up your digital signage systems.
For additional help, feel free to contact us and we’ll be happy to answer any specific questions you might have.
Or request a free demo and let us show you how it all will work out with your specific system in your specific settings.